Deploy the rq background worker to Render.com
When deploying to Render.com, it's much easier if we don't have to pass the REDIS_URL and the queue name directly to the command.
So instead, let's create a settings.py file and put our rq worker configuration there:
import os
from dotenv import load_dotenv

load_dotenv()

REDIS_URL = os.getenv("REDIS_URL", "redis://localhost:6379")
QUEUES = ["emails", "default"]
The names of the variables are important, see the documentation for all the options that are currently supported.
To run the rq worker using this settings file use rq worker -c settings.
Let's add this to our repo, and then deploy the background worker to Render.com.
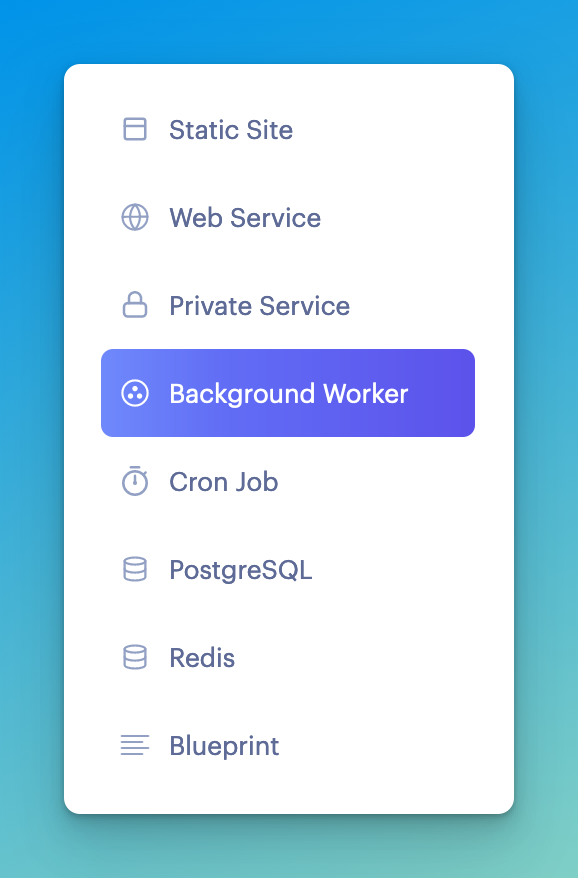
First create a new background worker:

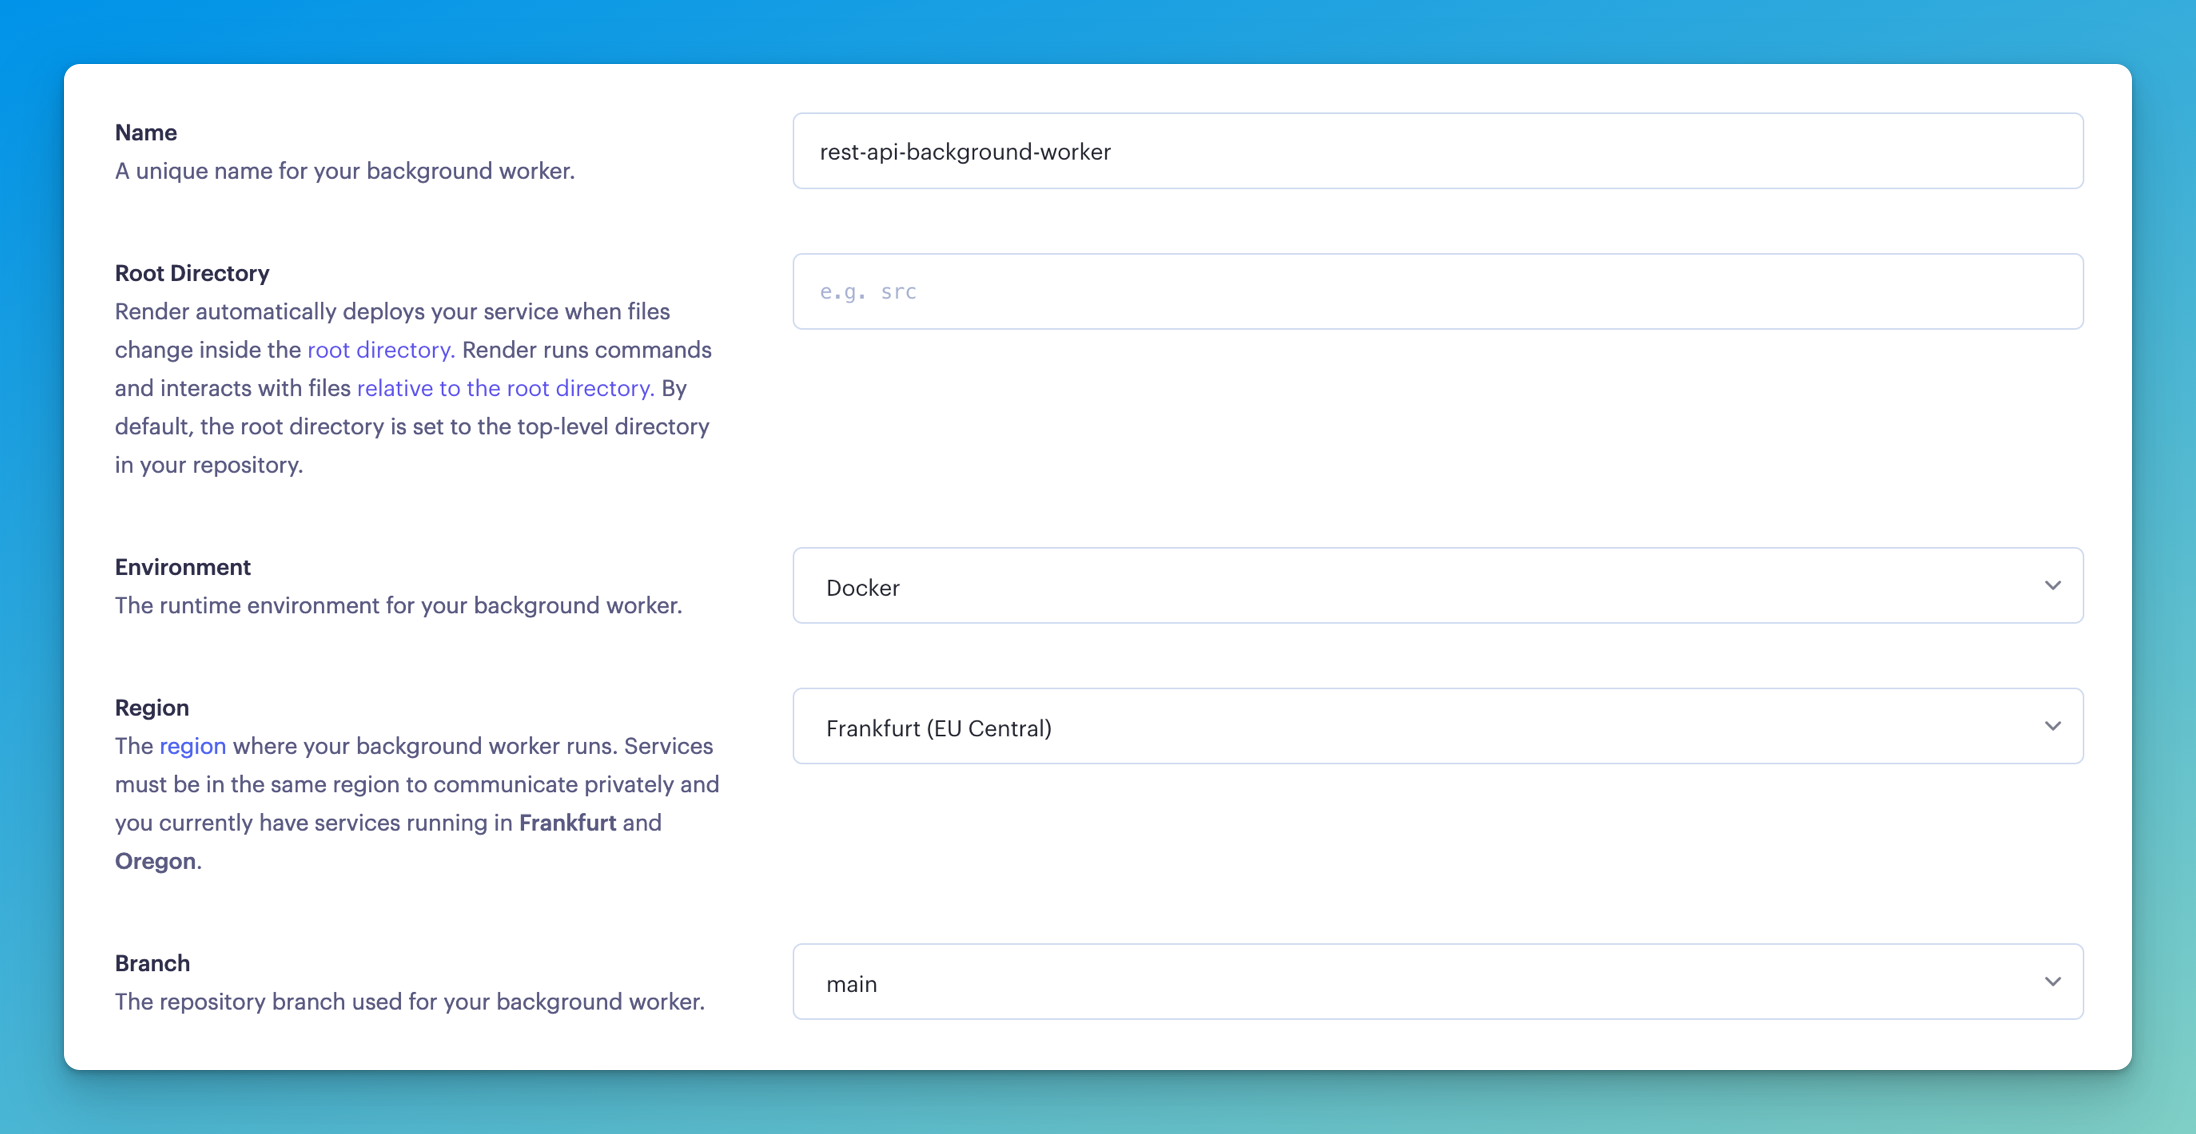
Then, give it a name and fill in its basic settings. The default works for the most part. Make sure it's in the same region as or close to your Postgres and Redis databases:

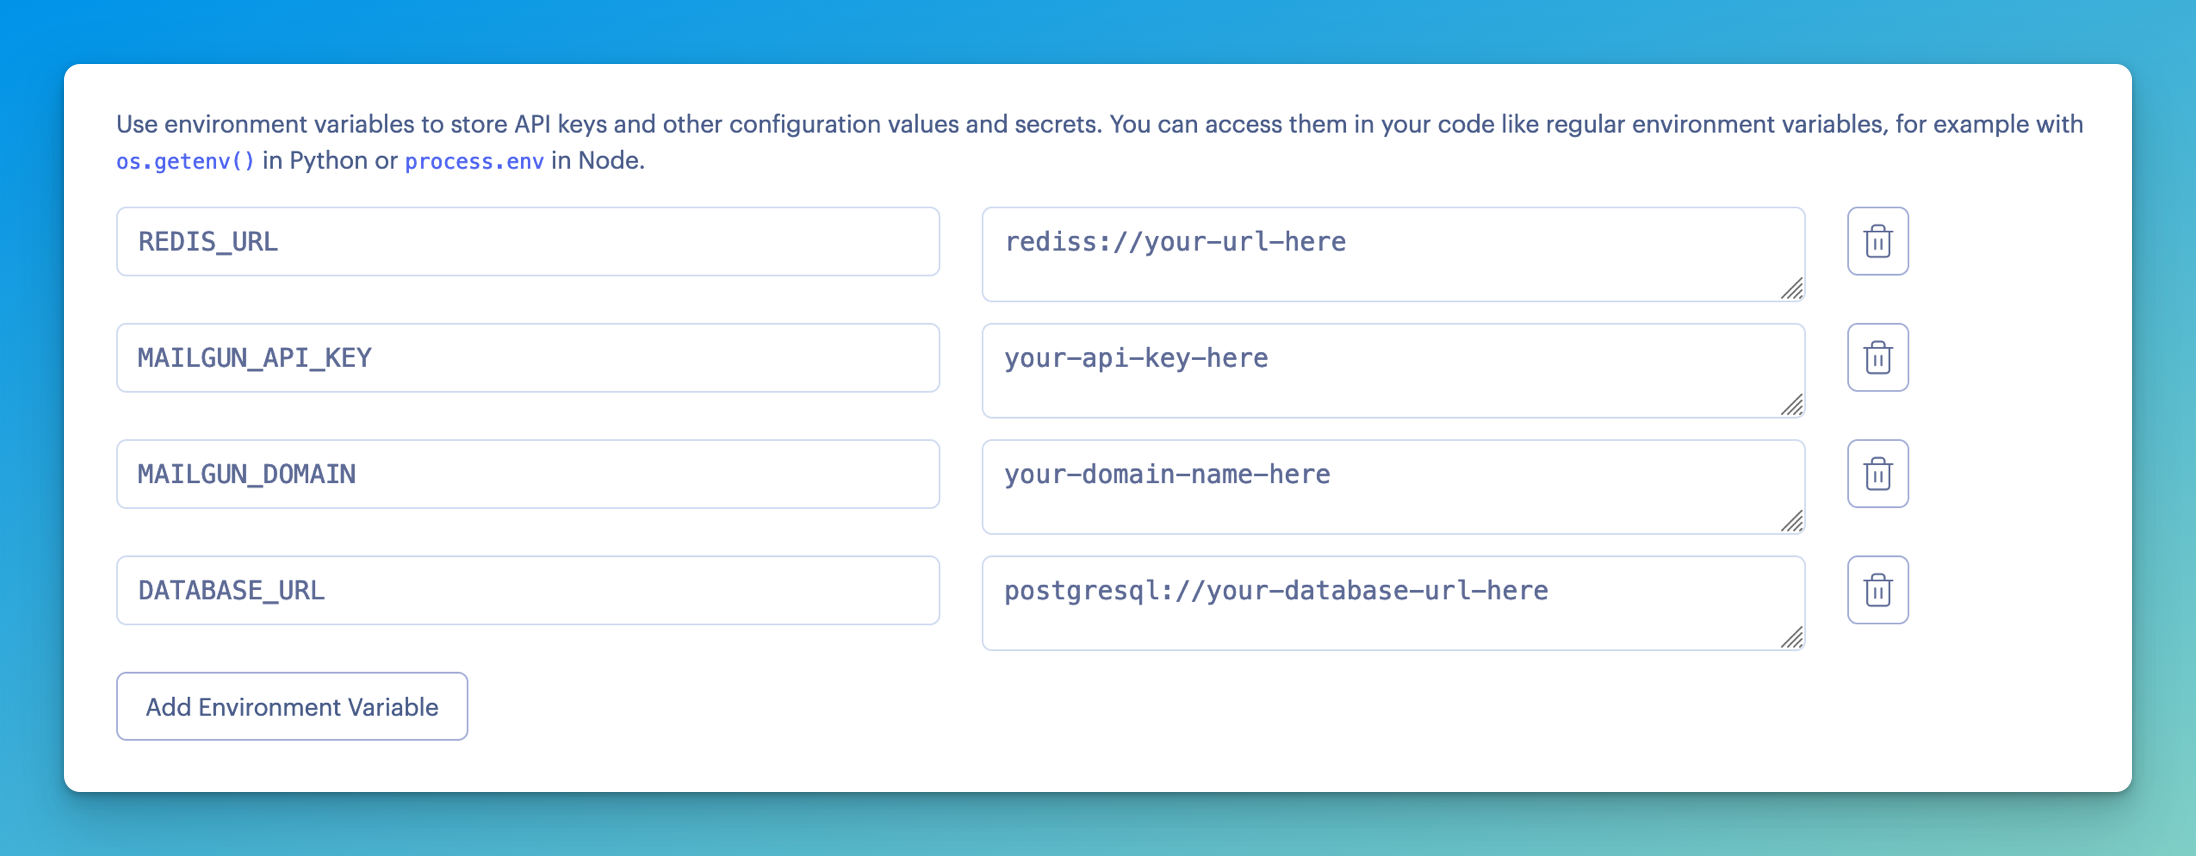
Add the environment variables it needs. Although in this case it doesn't need the DATABASE_URL, you can add it if you will be adding other tasks that do use the database in the near future. If not, leave it out.
If your Redis database is with Render.com, you'd want to use the Redis database Internal URL, but I encountered some issues with it where the redis package didn't recognise the URL. Try it, but fall back to the external URL if it doesn't work.

Finally, this "background worker" is just a Python program without networking capabilities. So if we leave it as is, it will actually just run our Dockerfile and the Dockerfile's CMD command (which starts our web application). Therefore we want to give it a custom Docker command that starts the background worker.
In that command, I'll go into the /app directory of the Docker container, and run the rq worker passing in the settings.py file.
The command is /bin/bash -c cd /app && rq worker -c settings.
This is what it looks like in Render.com:
